Baked split chicken breast is a great choice for many meals. It’s both versatile and healthy. The USDA says to cook chicken to at least 165°F for safety. But, different chicken parts might need different temperatures for the best taste and texture.
Table of Contents
Understanding Split Chicken Breast Basics
Chicken breasts come in two types: boneless and bone-in. Split chicken breasts, or bone-in, skin-on, are a favorite for many. They offer benefits that make cooking easier and tastier. Knowing about this cut can help you make high-protein chicken entrees and low-fat chicken meals that are both juicy and flavorful.
Anatomy of Split Chicken Breast
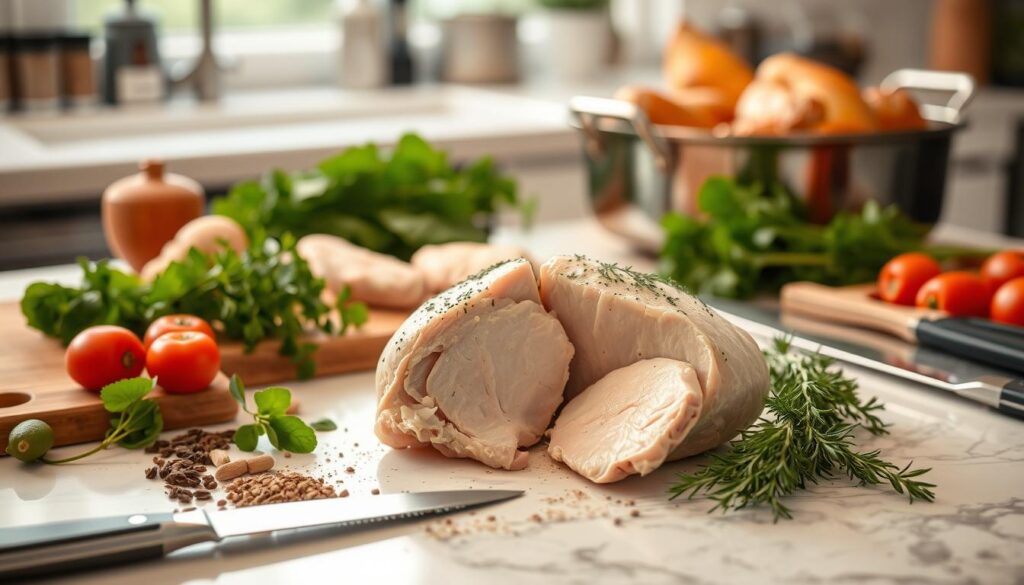
A split chicken breast has one side of the breast, with bone and skin on. This setup has several advantages. The bone spreads heat evenly, and the skin keeps the meat moist.
Benefits of Bone-in vs. Boneless
- Increased moisture and tenderness: The bone and skin keep more juices in, making the meat juicy and tasty.
- Enhanced flavor: The bone adds a deeper, richer flavor that boneless cuts often lack.
- Cost-effectiveness: Split chicken breasts are cheaper per pound than boneless ones, saving you money.
Nutritional Profile
Chicken breast, whether bone-in or boneless, is packed with lean protein. A 4-ounce serving of split chicken breast has about 26 grams of protein and only 165 calories. It’s perfect for those looking for high-protein chicken entrees and low-fat chicken meals. Chicken also provides important vitamins and minerals like niacin, vitamin B6, and phosphorus.
“The bone-in, skin-on structure of split chicken breasts helps to lock in moisture and enhance the natural flavor of the meat.”
| Nutrient | Amount per 4 oz. Serving |
|---|---|
| Calories | 165 |
| Protein | 26 g |
| Fat | 4 g |
| Carbohydrates | 0 g |
Perfect Temperature Guide for Baked Split Chicken Breast
Getting the perfect internal temperature is key for juicy, flavorful baked split chicken breast. It’s important to cook the chicken to the right doneness. This ensures the meat is safe and stays moist and tender.
For white meat like chicken breasts and wings, the ideal internal temperature is 155°F. After reaching this temperature, let the chicken rest for 5-10 minutes. This allows the juices to spread evenly, making the meat moist and tender.
Dark meat, like chicken legs and thighs, needs a higher internal temperature of 170°F. This breaks down the connective tissues, making the meat tender and flavorful.
To check the internal temperature, use a reliable meat thermometer. Insert the probe into the thickest part of the chicken, avoiding bones to get an accurate reading.
| Chicken Cut | Ideal Internal Temperature |
|---|---|
| Chicken Breasts and Wings | 165°F (74°C) |
| Chicken Legs and Thighs | 170°F (77°C) |
By following these temperature guidelines and using a meat thermometer, you can ensure your baked split chicken breast is cooked to perfection. This results in a juicy, flavorful, and safe-to-consume meal every time.
Essential Equipment and Kitchen Tools
For baking the perfect split chicken breast, the right tools are key. You’ll need the right baking dishes and a meat thermometer. These will help you get moist, flavorful chicken every time.
Recommended Baking Dishes
Choose a high-quality baking dish or roasting pan for split chicken breasts. Stainless steel or enameled cast iron is best. They distribute heat well and prevent hot spots. A dish with a higher lip is good for catching juices.
Meat Thermometer Importance
A meat thermometer is crucial for perfect chicken temperature. It ensures your chicken is safe and not dry. Choose a digital thermometer for quick, accurate readings.
Additional Kitchen Tools
- Kitchen tongs: Useful for turning and manipulating the chicken in the oven.
- Basting brush: Helps you evenly distribute any pan juices or marinades over the chicken during baking.
- Aluminum foil: Can be used to loosely cover the chicken towards the end of baking to prevent over-browning.
With the right chicken cooking tools, baking dishes for chicken, and a meat thermometer, you’ll master baking split chicken breasts. Your chicken will be delicious and juicy.
Preparation Techniques for Maximum Flavor
Getting the most flavor out of split chicken breasts starts with the right prep. From marinating to seasoning, there are many ways to make your dish taste better. These techniques can also improve the texture of your chicken.
Begin by marinating the chicken in buttermilk for at least 3 hours, or up to 24 hours. This makes the meat tender and adds a tangy flavor. After marinating, pat the chicken dry with paper towels before seasoning.
Next, rub the chicken with olive oil. This helps the seasonings stick and promotes even browning. For a tasty dry rub, mix garlic powder, onion powder, paprika, oregano, and a bit of cayenne pepper.
- For more flavor, gently lift the skin and add fresh herbs or minced garlic underneath.
- Letting the chicken warm up to room temperature before baking ensures even cooking. This makes the chicken juicier and more tender.
By using these simple chicken marinade and seasoning chicken breast tips, you’ll make delicious baked split chicken breasts. They’ll be full of flavor and perfectly cooked every time.
| Preparation Technique | Benefit |
|---|---|
| Marinate in Buttermilk | Tenderizes the meat and adds tangy flavor |
| Pat Chicken Dry Before Seasoning | Helps seasonings adhere to the surface |
| Rub with Olive Oil | Promotes even browning and flavor absorption |
| Use a Flavorful Dry Rub | Adds depth of seasoning to the chicken |
| Tuck Herbs or Garlic Under the Skin | Infuses the chicken with additional flavors |
| Bring Chicken to Room Temperature | Ensures more even cooking and juicier results |

Marinade and Seasoning Options
Boosting the taste of baked split chicken breasts is all about the marinade and seasoning. You can choose from classic herbs, Asian marinades, or Mediterranean flavors. There’s a lot to explore.
Classic Herb Combinations
For a timeless taste, mix fresh thyme, rosemary, and garlic. Marinate the chicken in olive oil, lemon juice, and chopped herbs for 4 hours or overnight. The longer it marinates, the stronger the flavors.
Asian-Inspired Marinades
Add Asian flair with a marinade of soy sauce, sesame oil, ginger, and honey or brown sugar. Marinate for 30 minutes to 2 hours. This mix creates a tasty glaze as the chicken bakes.
Mediterranean Flavors
Try a Mediterranean twist with lemon juice, olive oil, oregano, and red pepper flakes. These bright, herbal flavors complement the chicken well. Marinate for at least 30 minutes before baking.
| Marinade Type | Key Ingredients | Marinating Time | Baking Time | Nutritional Info (per serving) |
|---|---|---|---|---|
| Classic Herb | Olive oil, lemon juice, thyme, rosemary, garlic | 4 hours or overnight | 35-45 minutes at 400°F | 315 calories, 11g carbs, 25g protein, 18g fat |
| Asian-Inspired | Soy sauce, sesame oil, ginger, honey | 30 minutes to 2 hours | 30-40 minutes at 375°F | 422 calories, 40g carbs, 15g protein, 22g fat |
| Mediterranean | Lemon juice, olive oil, oregano, red pepper flakes | 30 minutes or more | 35-45 minutes at 400°F | 315 calories, 11g carbs, 25g protein, 18g fat |
Try these and other chicken marinade recipes to find your favorite. You can mix and match herb-seasoned chicken and Asian chicken marinade flavors. There’s no end to the ways you can enhance your baked split chicken breasts.
Step-by-Step Baking Method
Baking split chicken breasts is easy and tasty. First, heat your oven to 420°F (215°C). Then, line a baking dish with foil for easy cleanup. Place the chicken breasts, with bones and skin, in the dish.
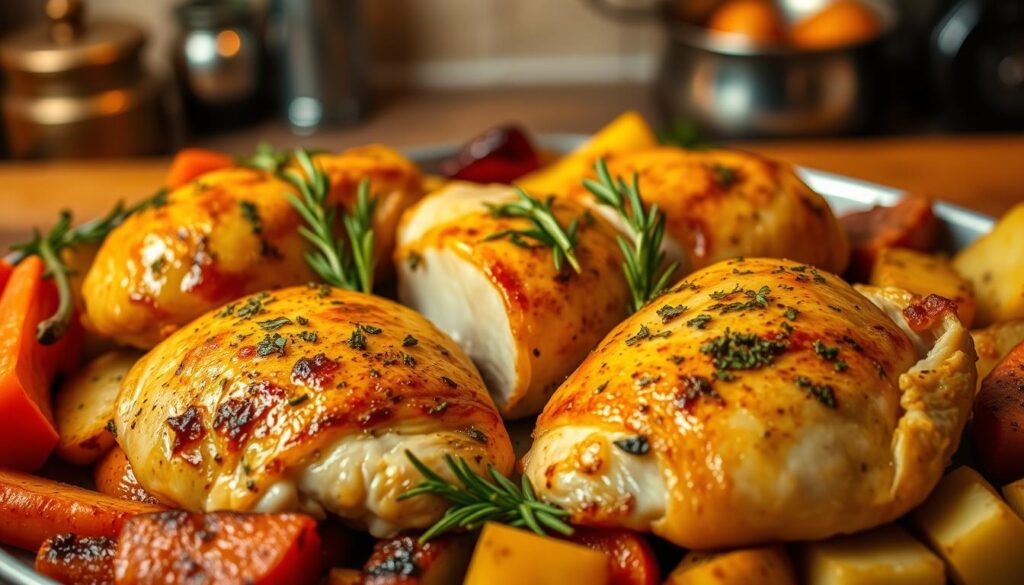
Before baking, add a tasty glaze or seasoning to the chicken. Mix salt, pepper, garlic powder, and paprika for a great taste. Lightly brush the chicken with olive oil or melted butter to stick the seasonings.
- Bake the chicken at 420°F for about 15 minutes.
- Then, switch the oven to broil and let the chicken cook for an additional 8-10 minutes. This will help caramelize the skin and develop a delightful crispiness.
You can also bake at 325°F (165°C) for 2 hours, covered with foil. This method keeps the meat moist and tender. For the last 30-45 minutes, raise the heat to 400°F (205°C) and remove the foil to crisp the skin.
Always check the chicken’s internal temperature with a meat thermometer. It should reach 165°F (74°C) for safety and juicy chicken.

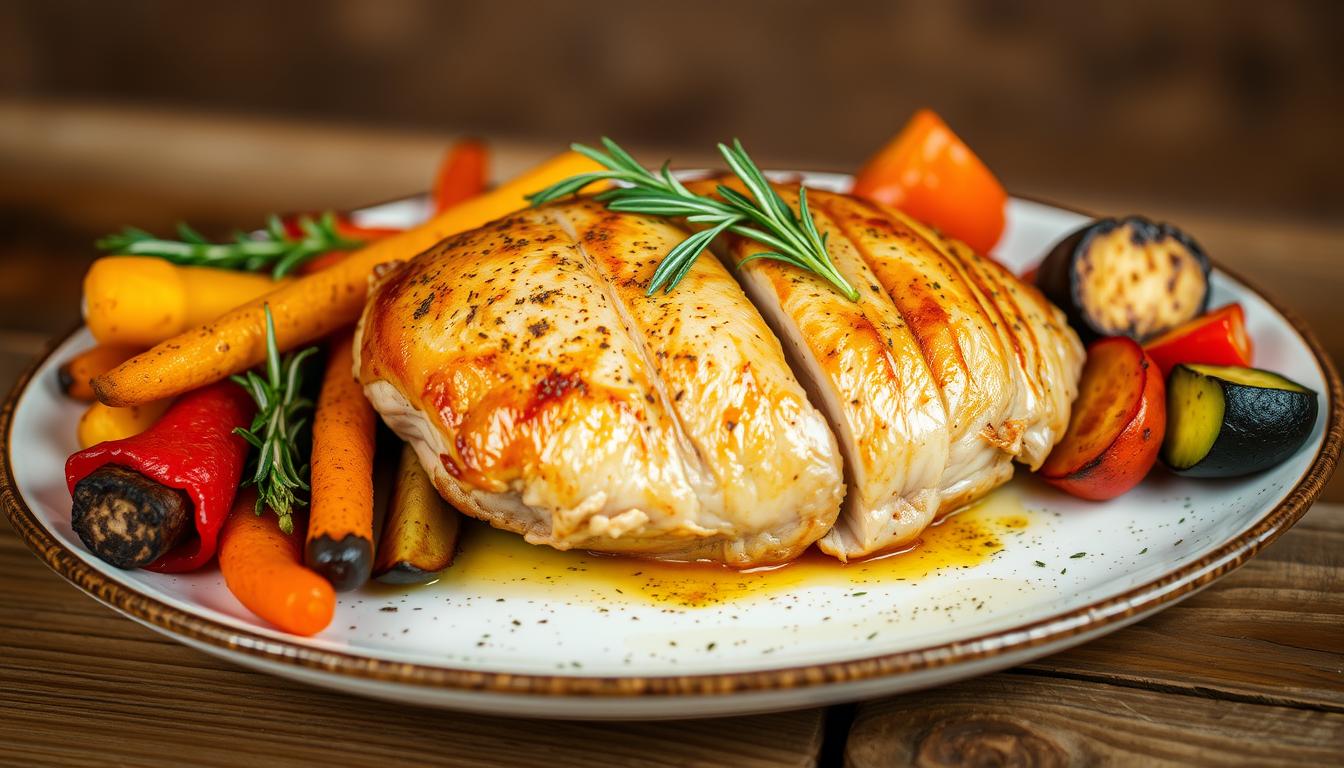
Follow these steps to bake split chicken breasts like a pro. You’ll get a delicious, crispy-skinned dish that everyone will enjoy.
Optimal Cooking Times and Temperatures
To cook split chicken breasts perfectly, you need to focus on temperature and timing. The secret to tender, juicy chicken is knowing the right oven settings and checking the internal temperature.
Temperature Guidelines
Bake split chicken breasts at a high temperature of 450°F for the best results. This high heat makes the outside golden and keeps the inside juicy. If you prefer a lower temperature, 400°F works too, but you’ll need to cook it for 10-15 minutes longer.
No matter the temperature, aim for an internal temperature of 165°F in the thickest part. The USDA says this is the minimum safe temperature to avoid harmful bacteria.
Timing Chart by Weight
| Chicken Breast Size | Cooking Time at 450°F |
|---|---|
| 8 oz | 20 minutes |
| 12 oz | 30 minutes |
| 16 oz | 40 minutes |
The cooking time can change based on your oven and the chicken’s size and thickness. Always check with a meat thermometer to make sure the chicken is at 165°F before you serve it.
Preventing Dry Chicken: Tips and Tricks
Getting juicy, moist baked chicken breasts can be tricky. But, with the right methods, you can keep your chicken moist. Brining or marinating the chicken before cooking is a great way to do this. It helps the meat stay moist and adds flavor.
Using a meat thermometer is key to avoid overcooking. Check the chicken’s internal temperature and remove it from heat when it hits 165°F. This helps keep the chicken tender. Also, basting the chicken or adding water to the oven can boost moisture.
For bone-in chicken breasts, cooking at a lower temperature for longer is better. Bone-in cuts tend to stay moister than boneless ones. Lastly, letting the chicken rest for a few minutes after cooking helps the juices spread evenly. This ensures a moist and tasty dish.

