Cooking a turkey can seem scary, especially if it’s your first Thanksgiving. But, the turkey bag method makes it easy. It uses an oven bag to keep moisture in, making the turkey juicy and flavorful. This method cuts down cooking time and eliminates the need for constant basting.
Many families rely on the turkey bag method for a moist turkey with crispy skin. It’s great for both experienced cooks and beginners. This method can help you get professional results with little effort.
Table of Contents
What is the Turkey Bag Method?
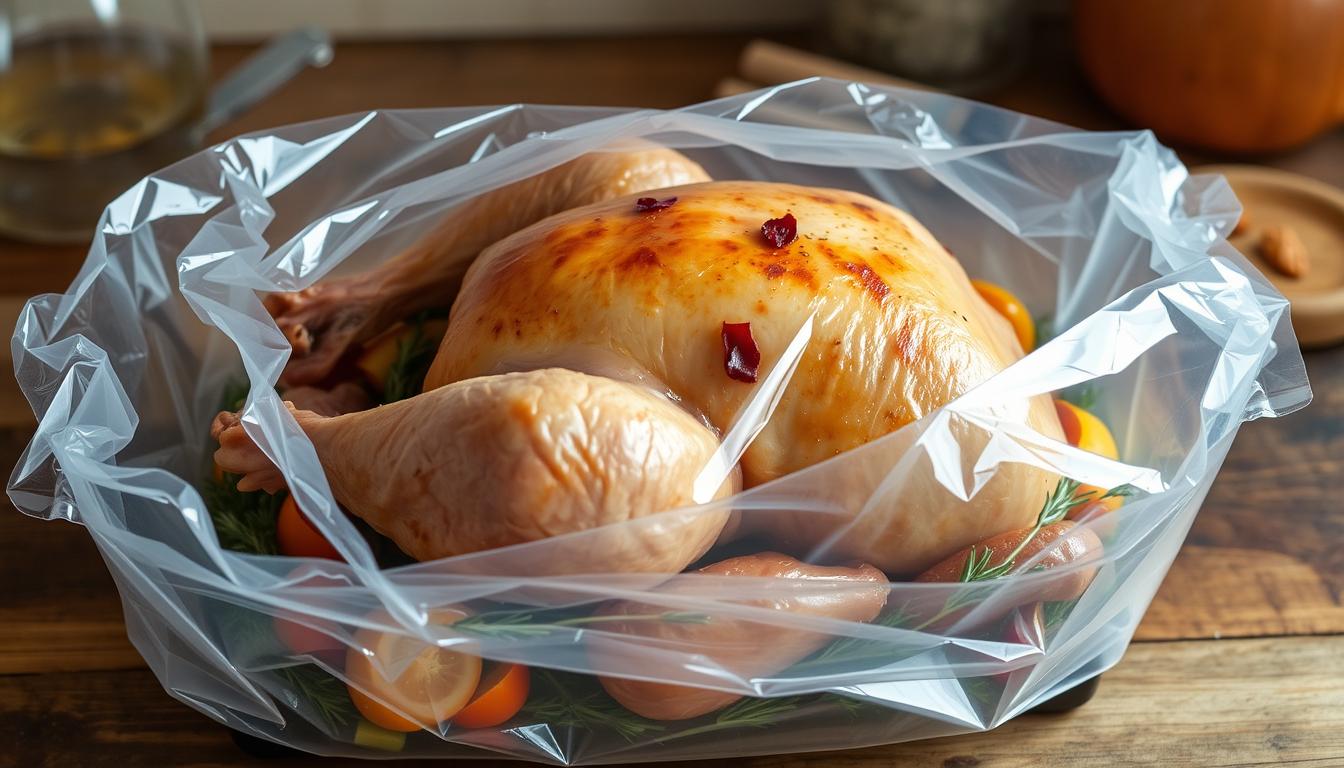
The turkey bag method is a simple and quick way to cook your Thanksgiving turkey. You put the turkey in a special oven-safe bag before roasting. This bag keeps moisture in, making the turkey baste itself.
This method cuts down cooking time. It also makes the turkey meat moist and the skin crispy.
Overview of the Cooking Technique
The turkey bag method is easy to follow. It uses an oven-safe bag to keep the turkey’s juices in. This makes the turkey juicy and flavorful without needing to baste it often.
Benefits of Using This Method
- Saves about an hour of cooking time compared to old methods.
- Makes the turkey meat moist and tender.
- Gives the turkey a golden-brown, crispy skin.
- Needs less attention while cooking.
- Makes cleanup easy since you can just throw away the bag.
This method is great for busy cooks or those new to making Thanksgiving turkeys. It’s easy and makes a delicious turkey without the stress of traditional roasting.
Preparing Your Turkey for the Bag
Starting your turkey cooking journey with the bag method? First, pick the right turkey size. Aim for 1-1.5 pounds per person. This way, you’ll have enough meat and avoid too much leftover.
After choosing the turkey size, focus on the key ingredients and seasonings. They will make your dish stand out.
Selecting the Right Turkey Size
The turkey size is key for the bag method. Here’s a quick guide for cooking times:
- 10-12 pounds: 2 to 2-1/2 hours (unstuffed), 1-1/2 to 2 hours (stuffed)
- 12-16 pounds: 2-1/2 to 2-3/4 hours (unstuffed), 2 to 2-1/4 hours (stuffed)
- 16-20 pounds: up to 3 hours (unstuffed), up to 2-1/2 hours (stuffed)
- 20-24 pounds: approximately 3-1/2 hours (unstuffed), approximately 3 hours (stuffed)
It’s best to avoid stuffing the turkey. Stuffing can make cooking longer and might not be safe. Instead, use a simple herb and seasoning mix for juiciness and flavor.
Essential Ingredients and Seasonings
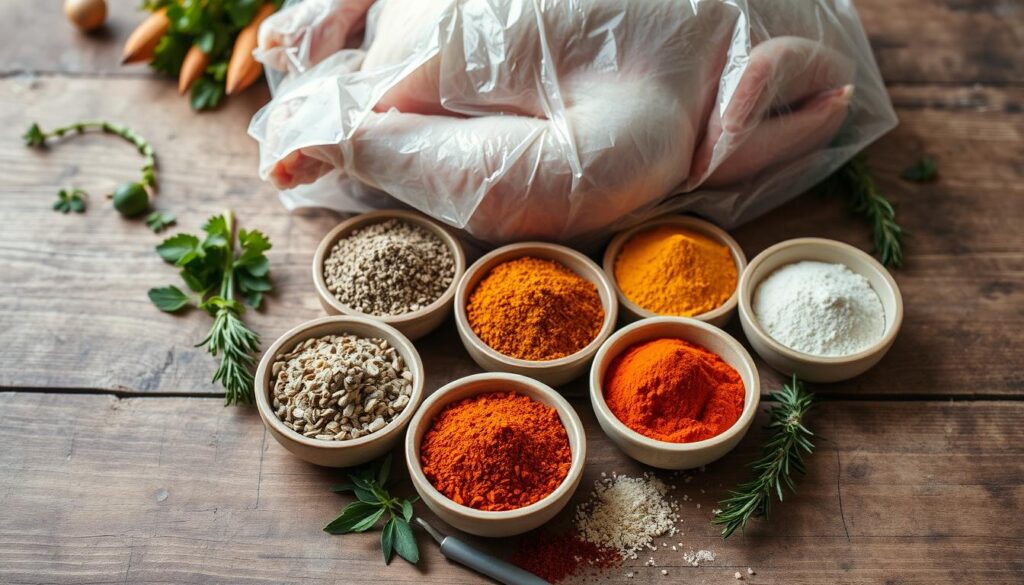
The secret to a tasty turkey in a bag is the right mix of ingredients. Start with butter, salt, and pepper. Add fresh herbs like rosemary, thyme, and sage for extra flavor. Some recipes suggest soy sauce, sherry, or brown sugar for more taste.
Before putting the turkey in the bag, rinse it well and dry it. This helps get a crispy, golden-brown skin. For more flavor and moisture, brine the turkey for 1-2 days before cooking.
“Preparing your turkey for the bag is the first step to ensuring a perfectly cooked and flavorful Thanksgiving centerpiece.”
Choosing the Right Cooking Bag
Cooking a turkey in an oven bag is popular for its ease and flavor retention. But, not all bags are the same. Picking the right one is key for a great turkey.
Types of Cooking Bags Available
Oven bags, slow cooker bags, and microwave steaming bags are common for turkey cooking. Oven bags, like Reynolds Oven Bags, are made for oven roasting. Slow cooker bags are great for slow cooking, and microwave steaming bags are for quick microwave cooking.
Think about your turkey’s size and the bag’s features when choosing. Oven bags come in sizes for different turkey weights. Make sure to pick the right size for your turkey.
Tips for Proper Usage
- Add a tablespoon of flour to the inside of the bag to prevent sticking and bursting.
- Cut several small slits in the bag to allow steam to escape during cooking, ensuring a crisp, golden-brown skin.
- Seal the bag securely according to the manufacturer’s instructions, using the provided tie or closure method.
- Place the bagged turkey on a rimmed baking sheet to catch any drips or juices during cooking.
- Follow the recommended cooking time and temperature for your specific bag and turkey size to ensure perfect doneness.
Choosing the right cooking bag and following usage tips can make your turkey cooking easy and delicious. Oven bags make holiday meals simpler, letting you enjoy the feast more.
Step-by-Step Guide to Cooking Turkey in a Bag
Cooking a turkey in a bag is simple and delicious. Just follow a few easy steps for moist and flavorful results. Here’s how to cook your turkey in a bag.
Prepping the Turkey
First, thaw your turkey in the fridge. This can take a few days, depending on its size. After thawing, remove giblets and any packaging from the turkey.
Pat the turkey dry with paper towels. Then, brush it with melted butter or oil. This helps the seasonings stick better.
Placing the Turkey in the Bag
Preheat your oven to 350°F. Dust the inside of the oven bag with flour. Place it in a large roasting pan.
Add vegetables like carrots, celery, or onions to the bag. Then, put the turkey in the bag carefully. Make sure it doesn’t tear. Seal the bag, leaving small slits for steam.
Cooking Time and Temperature
- For an 8- to 12-pound turkey, cook for 1.5 to 2 hours.
- For a 12- to 16-pound turkey, cook for 2 to 2.5 hours.
- For a 16- to 20-pound turkey, cook for 2.5 to 3 hours.
- For a 20- to 24-pound turkey, cook for 3 to 3.5 hours.
Use a meat thermometer to check the turkey’s temperature. It should be 165°F in the thickest parts. The turkey will cook a bit more after it’s out of the oven.
Tips for Ensuring Perfectly Cooked Turkey
Cooking the perfect turkey can seem hard, but with the right methods, you can get moist, tasty results. Focus on temperature check techniques and keeping the turkey moist.
Temperature Check Techniques
It’s crucial to use a meat thermometer. This ensures your turkey reaches 165°F in the thickest thigh part. It’s safe and prevents dryness.
Moisture Retention Strategies
To keep your turkey moist, don’t open the cooking bag. This keeps juices and steam inside, stopping moisture loss. After cooking, let it rest in the bag for 15 minutes before removing.
For crispy skin, remove the turkey from the bag and broil for 5-8 minutes. Watch it closely to avoid burning.
By using these turkey cooking tips, moist turkey techniques, and turkey temperature guide, you’ll make a fantastic Thanksgiving turkey. Your guests will love it.
Flavoring Options for Turkey in a Bag
Cooking your turkey in a bag lets you try out many flavors. You can use herbs, marinades, and brines to make your turkey taste amazing.
Herb and Spice Blends
Make your own turkey seasoning blends. Mix herbs like rosemary, thyme, and sage for an Italian taste. Or, try garlic, onion, and black pepper for a savory flavor. Rub the blend on the turkey before cooking.
Marinades and Brines
For a moist turkey, use a turkey marinade recipe or turkey brine method. A simple marinade is soy sauce, sherry, and brown sugar. Let the turkey soak for a few hours or overnight.
Brining adds moisture and flavor. Mix kosher salt, brown sugar, and herbs with stock. Soak the turkey in it for 12 to 36 hours. This makes the turkey juicy and flavorful.
| Flavoring Method | Ingredients | Time Required |
|---|---|---|
| Herb and Spice Blend | Rosemary, thyme, sage, oregano, garlic, onion, paprika, black pepper | Rub on turkey before cooking |
| Marinade | Soy sauce, sherry, brown sugar | Soak turkey for 4-24 hours |
| Brine | Kosher salt, brown sugar, vegetable stock, peppercorns, allspice, herbs | Soak turkey for 12-36 hours |
Try different turkey seasoning blends, turkey marinade recipes, and turkey brine methods. This way, you can make a turkey that tastes exactly how you like it.

Common Mistakes to Avoid
Cooking the perfect turkey in an oven bag seems easy, but there are common turkey cooking mistakes and oven bag turkey errors to watch out for. These turkey troubleshooting tips can help you avoid these issues and make a delicious turkey in a bag.
Overcooking Issues
One big mistake is overcooking the turkey. To avoid this, keep a close eye on the cooking time. Use a meat thermometer to check the turkey’s internal temperature. It’s done when it reaches 165°F in the breast and 175°F in the thigh.
Make sure to put the thermometer in the right spot for an accurate reading.
Not Sealing the Bag Properly
Another common error is not sealing the oven bag right. Always follow the bag’s instructions. Cut slits in the top for steam to escape and seal it tightly. If the bag isn’t sealed well, the turkey can dry out.
“The key to a juicy, flavorful turkey is retaining the natural moisture, and that starts with properly sealing the oven bag.”
Don’t open the bag while it’s cooking. This lets out steam and can dry out the meat. Wait until the turkey is fully cooked before you peek.
The turkey bag is made to keep in flavor and juices. So, make sure to seal it well for the best taste.
Troubleshooting Cooking Problems
Turkey cooking can sometimes present unexpected challenges. But with the right troubleshooting techniques, you can overcome common issues. This section will provide practical solutions to help you fix your turkey cooking problems.
Burnt Exterior but Undercooked Interior
If your turkey’s exterior is becoming overly browned while the inside remains undercooked, try lowering the oven temperature. Cover the turkey with a tent of aluminum foil. This will allow the interior to continue cooking without further browning the outside. Resist the urge to crank up the heat, as that can lead to an even more uneven cooking result.
Soggy Skin Solutions
For crispy, golden-brown turkey skin, consider removing the turkey from the cooking bag towards the end of the cooking time. Place it under the broiler for a few minutes. This direct heat will help render out any excess fat and moisture, resulting in a delightfully crisp skin. Just be sure to keep a close eye on the turkey to prevent burning.
If the turkey is cooking too quickly, you can also try reducing the oven temperature to slow down the cooking process. Uneven cooking can sometimes be addressed by ensuring the turkey is at room temperature before placing it in the oven. Consider the use of a roasting rack inside the bag to promote more even heat circulation.
By understanding these common turkey cooking problems and the solutions to address them, you’ll be well on your way to achieving a perfectly cooked, juicy, and crispy-skinned turkey every time.
Serving Your Turkey
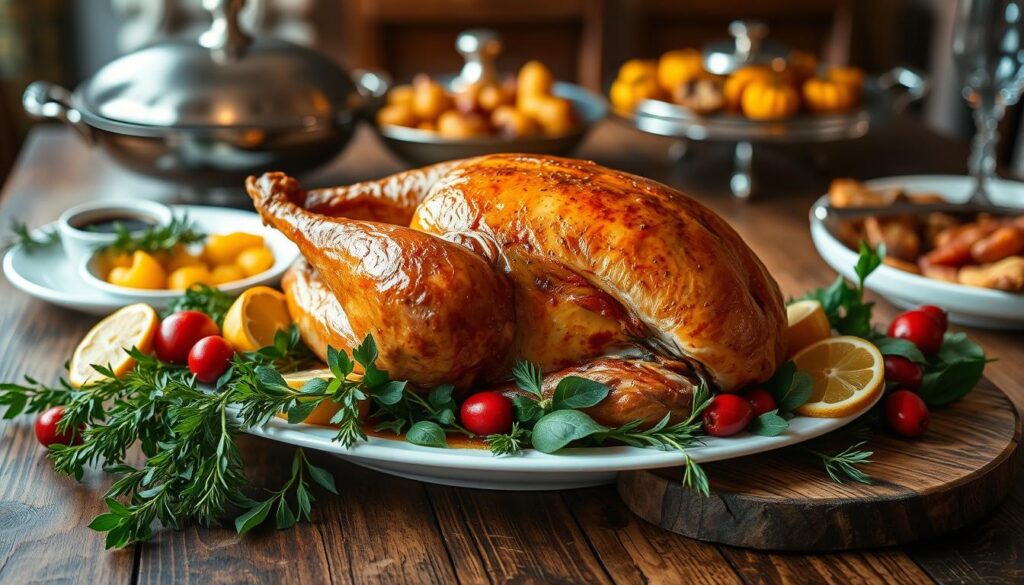
After cooking the turkey perfectly with the Turkey In a Bag method, it’s time to show it off. Let it rest for 15-30 minutes. This step helps the juices spread evenly, making the meat moist and flavorful.
Carving Tips for Presentation
Start by removing the legs, then the wings, and finally slice the breast against the grain. Place the carved pieces on a platter neatly. Use the juices from the bag to make a tasty turkey gravy to drizzle over the meat.
Side Dishes that Pair Well
No Thanksgiving is complete without tasty side dishes. Serve the turkey with favorites like mashed potatoes, cornbread dressing, and cranberry sauce. Add variety with roasted vegetables like Brussels sprouts, carrots, and butternut squash.
For elegance, try herb-roasted acorn squash or a fresh green salad alongside the turkey.
| Cooking Time for Unstuffed Turkey | Cooking Time for Stuffed Turkey |
|---|---|
| 10- to 12-pound turkey: 2 to 2-1/2 hours 12- to 16-pound turkey: 2-1/2 to 2-3/4 hours 16- to 20-pound turkey: 3 hours 20- to 24-pound turkey: 3-1/2 hours | 10- to 12-pound turkey: 1-1/2 to 2 hours 12- to 16-pound turkey: 2 to 2-1/4 hours 16- to 20-pound turkey: 2-1/2 hours 20- to 24-pound turkey: 3 hours |

“The key to a successful Thanksgiving turkey is proper presentation. Carve it with care and serve it with your favorite side dishes for a truly memorable meal.”
Storing Leftover Turkey
After the turkey feast ends, it’s key to store leftovers right. You might want to enjoy the turkey later or freeze it. The right storage keeps food safe and tasty.
Best Practices for Refrigeration
Refrigerate leftover turkey within two hours of cooking. Use airtight containers or resealable bags to keep it moist. Turkey and gravy can stay fresh in the fridge for three to four days.
Creative Uses for Leftover Turkey
Don’t waste leftover turkey! Get creative with it. Reheating in its own gravy is a good idea, says Bryan Ogden. It keeps the meat moist and flavorful.
- Use the turkey and gravy as a base for hearty soups and stews.
- Transform the leftovers into a delicious turkey pot pie.
- Shred the turkey and toss it into salads, sandwiches, or casseroles.
- Simmer the turkey carcass to make a flavorful turkey bone broth.
By getting creative with turkey leftovers, you can enjoy Thanksgiving longer.
When reheating turkey, make sure it hits 165°F. This keeps it safe and tasty, as food safety rules say.
Variations on the Turkey Bag Method
The oven bag method isn’t just for turkey. You can use it to cook whole chickens and roasts too. Learning the basics lets you try new things in the kitchen.
Different Poultry to Try
The turkey bag method is great for holidays, but it’s also good for other birds. You can cook whole chickens or ducks perfectly. Just remember to adjust cooking times for different bird sizes.
Using the Method for Other Proteins
This cooking method isn’t just for poultry. It works well for big cuts of meat like ham or pot roast. Try different seasonings and aromatics to match the meat’s flavor. Always use oven-safe bags for cooking.
| Protein | Approximate Cooking Time |
|---|---|
| 12-pound Whole Chicken | 2-3 hours |
| 5-pound Ham | 2-3 hours |
| 3-pound Pot Roast | 3-4 hours |
For oven bag cooking variations to succeed, follow the bag’s instructions. Adjust cooking times and temperatures as needed for perfect results.
Final Thoughts on the Turkey Bag Method
Why You Should Try This Cooking Technique
The turkey bag method is a simple way to cook a moist, tasty turkey. It’s great for beginners or those who want a stress-free Thanksgiving. This method makes cooking a turkey easy and ensures a juicy bird with crispy skin.
By using this method, you can have a delicious turkey without worrying about it being dry or unevenly cooked.
Embracing Convenience Without Sacrificing Flavor
Some might think the turkey bag method is not for them. But, the benefits are clear. It cuts cooking time by 30-50% compared to traditional roasting. This means you save time without losing flavor.
USDA-approved oven bags make it safe, and the steps are easy. It’s perfect for anyone looking for a hassle-free turkey roasting experience.
Whether you’re experienced or new to cooking, the turkey bag method ensures a perfectly cooked turkey. It lets you enjoy your Thanksgiving without the usual turkey prep stress.

